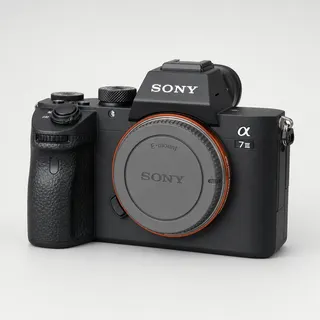

Sony α7 III to SmugMug: auto-upload as you shoot
Tether your Sony α7 III to your phone over USB or Wi-Fi and deliver every shot straight to SmugMug the instant you press the shutter — no laptop, no SD-card import. Branded galleries that look like your portfolio, not ours.
By the CloudTether team · Updated
How it works for Sony α7 III → SmugMug
Your phone sits between the camera and SmugMug: no laptop, no card reader.
 Step 1Sony α7 III
Connect it to your phone with a USB-C data cable or over Wi-Fi, then shoot as normal.
- Step 2Your phone
CloudTether copies each full-resolution photo off the camera seconds after the shutter and uploads it once.
- Step 3SmugMug
Every shot lands in SmugMug as a JPEG while you keep shooting — and in any other destination on the shoot.
How to live-upload Sony α7 III photos to SmugMug
Connect your Sony α7 III to your phone and every shot lands in SmugMug live as you shoot. Here's the full setup, start to finish:
- 1
Connect your Sony α7 III
Connect over USB with the camera in PC Remote mode for a stable, high-speed tether. Newer bodies (α1, α9 III, α7 IV, α7R V, α7C II) can also tether over Wi-Fi with wireless PC Remote — not yet tested by us, so USB is the dependable path. In PC Remote, set Still Img. Save Dest. to PC+Camera to keep a copy on the card.
- 2
Connect SmugMug
Connects via SmugMug OAuth. Pick where photos should land — photos land in the SmugMug gallery you pick, keeping that gallery's own privacy, sharing and selling settings.
- 3
Shoot as normal
Every frame your Sony α7 III captures is detected and downloaded at full resolution while you keep shooting. SmugMug receives the JPEGs — RAW files are skipped for it, so shoot RAW+JPEG.
- 4
Photos deliver to SmugMug
Each photo uploads from your phone once and lands in SmugMug live, seconds after the shutter — and fans out to any other destinations on the session too.
SmugMug in the CloudTether app
Connect SmugMug once, then every shoot from your Sony α7 III can deliver to it.
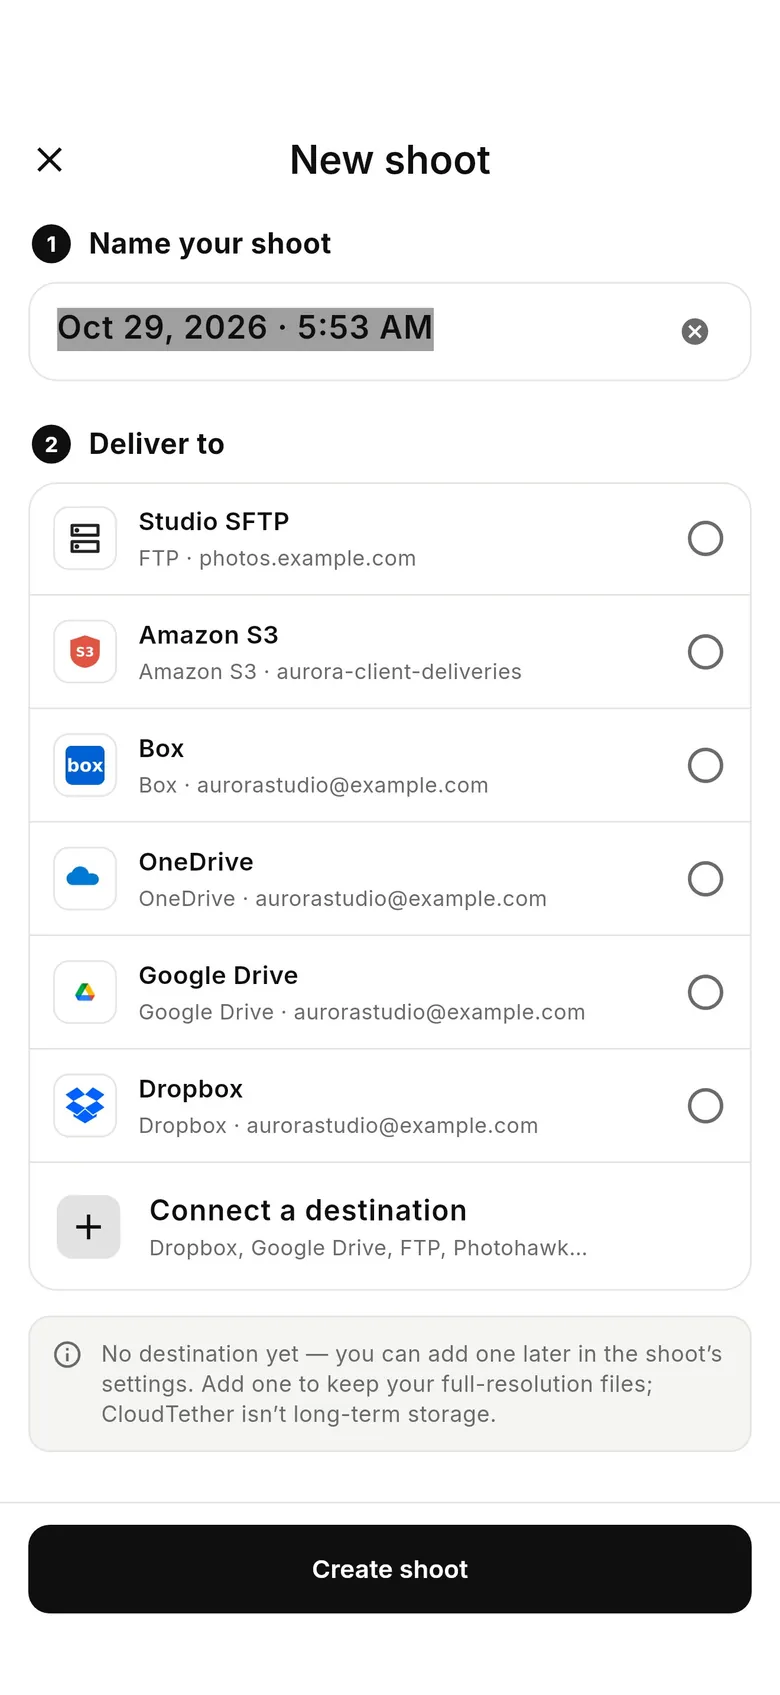
Connecting the Sony α7 III
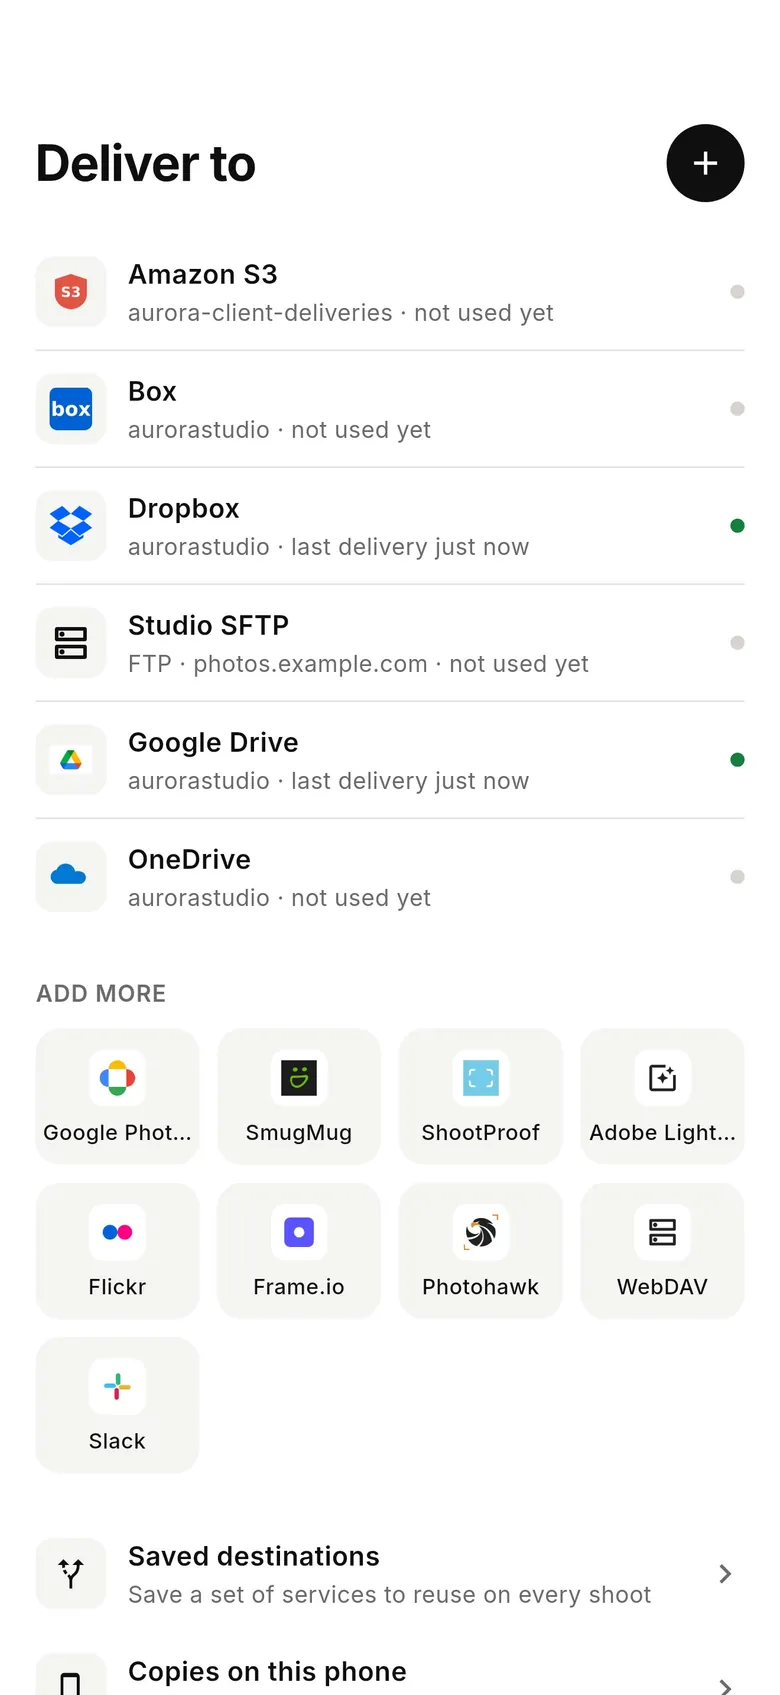
The α7 III has a USB-C port alongside its older Multi/Micro USB terminal; use the USB-C port and a data cable to a USB-C phone or iPad, or Apple's camera adapter for a Lightning iPhone. Set MENU → Setup → USB Connection → PC Remote first. Any other USB mode (mass storage, MTP) mounts the card instead of tethering, and an active smartphone connection keeps the port busy.
On current firmware the PC Remote settings include Still Img. Save Dest.; choose PC+Camera so the card keeps a copy of every frame. Treat the α7 III as a USB body in CloudTether: its wireless tethering is limited compared with newer Alphas, and the cable is the path we support for paid work.
Every shot is sent — rated send isn't available over Sony tethering. The α7 III offers compressed RAW, which keeps ARW files lighter; over mobile data, RAW+JPEG with JPEG only is the fastest way to keep a gallery current while the ARW stays on the card.
The α7 III is one of the most widely owned full-frame bodies, often kept as a second camera next to an α7 IV. Because it's a USB body in CloudTether, plan the cable route: a short USB-C cable to a phone on the strap or a belt clip, with strain relief at the camera end so the port isn't levered.
Getting the most out of SmugMug
SmugMug gets JPEGs (plus HEIF, PNG or TIFF if the camera writes them); RAW and video are skipped. CloudTether doesn't create galleries, so make the gallery in SmugMug first and pick it from the list — SmugMug's API calls galleries albums, so that's the word you'll see. One shoot fills one gallery, which keeps its own privacy, sharing, presentation and selling settings.
For same-day viewing, send 2048 px JPEGs; send full size if clients will buy prints from the gallery. Share the gallery link in the morning and it fills during the day. Add Dropbox to the same shoot and the phone still uploads each file once: the JPEG goes to SmugMug and every file, RAW included, to Dropbox.
SmugMug suits galleries that double as a shop or a portfolio: team galleries parents order from on game day, or a wedding gallery the couple shares with family that night. Keep the gallery unlisted or password-protected while you shoot and open it up later — CloudTether doesn't touch those settings, so it behaves exactly as if you'd uploaded by hand.
- Need two galleries, say ceremony and reception? Start a second shoot.
- If SmugMug signs you out, shots wait on the phone until you reconnect.
- Rated send (Canon and Nikon) keeps a public gallery to your picks.
A typical Sony α7 III to SmugMug workflow
- Make the SmugMug gallery and pick it in CloudTether; set the α7 III to PC Remote over USB-C.
- Shoot RAW+JPEG — SmugMug receives the JPEGs, the ARW stays on the card or goes to a second destination.
- For events, 2048 px delivery keeps the gallery fast for guests browsing on their phones.
Sony α7 III to SmugMug: what to know
The Sony α7 III is a full-frame body — all-round wedding, portrait and event workhorse — one of the most popular full-frame bodies. CloudTether pulls each frame off it the moment you shoot and delivers it to SmugMug: the JPEGs (SmugMug doesn't take ARW RAW files, so shoot RAW+JPEG).
ARW files are far larger than JPEGs, so if your SmugMug recipients only need to view or pick images, deliver JPEG for the fastest turnaround and keep the ARW originals on the card or in a second destination.
SmugMug gets JPEGs (RAW and video are skipped), into the gallery you pick — shoot RAW+JPEG.
Full guide: Camera to SmugMug: Upload Photos Live as You Shoot →Photos land in the SmugMug gallery you pick, keeping that gallery's own privacy, sharing and selling settings.
Connects via SmugMug OAuth.
Sony α7 III to SmugMug — FAQ
Can I upload Sony α7 III photos to SmugMug automatically?
Yes. Tether your Sony α7 III to your phone with CloudTether over USB or Wi-Fi, and every shot uploads to SmugMug live as you shoot — no card offload and no card import.
Can I send Sony α7 III photos to SmugMug live while I'm shooting?
Yes — each frame lands in SmugMug seconds after the shutter, live, while you keep shooting. There's no SD-card step in the middle.
How does CloudTether connect my Sony α7 III to SmugMug?
Your Sony α7 III tethers to your phone over USB or its own Wi-Fi; connects via SmugMug OAuth.
Do I need a laptop to send Sony photos to SmugMug?
No. CloudTether runs on your phone — your Sony α7 III connects to the phone and uploads straight to SmugMug over mobile data or Wi-Fi, anywhere you have signal.
Can I send RAW files from my Sony α7 III to SmugMug?
No — SmugMug receives JPEGs, and RAW files are skipped for it. Shoot RAW+JPEG; add Dropbox, Google Drive, OneDrive or an SFTP server to the same shoot if you want the RAW files off-site too.
Do α7 III ARW files go to SmugMug?
No. SmugMug receives JPEGs and ARW files are skipped. Shoot RAW+JPEG, and add Dropbox or Google Drive to the shoot for the RAW.
Can I use an α7 III and a second camera into one SmugMug gallery?
Yes. One phone can tether two cameras — we've run a Sony and a Canon together — and both can send to the same shoot and gallery.
Why does my α7 III mount as a drive instead of sending to SmugMug?
Its USB mode is set to mass storage or MTP. Change MENU → Setup → USB Connection to PC Remote, reconnect, and take a test shot — it should appear in the gallery a few seconds later.
 Canon EOS R5 to SmugMug
 Canon EOS R6 Mark II to SmugMug
 Sony α7 IV to SmugMug
 Nikon Z6 III to SmugMug
 Nikon Z8 to SmugMug
 Fujifilm X-T5 to SmugMug