
Nikon Z6 III to ShootProof live
Tether your Nikon Z6 III to your phone over USB or Wi-Fi and deliver every shot straight to ShootProof the instant you press the shutter — no laptop, no SD-card import. Real-time client proofing galleries.
By the CloudTether team · Updated

How it works for Nikon Z6 III → ShootProof
Your phone sits between the camera and ShootProof: no laptop, no card reader.
- Step 1Nikon Z6 III
Connect it to your phone with a USB-C data cable or over Wi-Fi, then shoot as normal.
- Step 2Your phone
CloudTether copies each full-resolution photo off the camera seconds after the shutter and uploads it once.
- Step 3ShootProof
Every shot lands in ShootProof as a JPEG while you keep shooting — and in any other destination on the shoot.
How to live-upload Nikon Z6 III photos to ShootProof
Connect your Nikon Z6 III to your phone and every shot lands in ShootProof live as you shoot. Here's the full setup, start to finish:
- 1
Connect your Nikon Z6 III
Connect over USB (PC connection mode) for the fastest, most dependable transfer. Or connect over the camera's Wi-Fi or a shared network. On a first wireless connection, confirm the link on the camera when prompted.
- 2
Connect ShootProof
Connects via ShootProof OAuth. Pick where photos should land — frames stream straight into the ShootProof event (or an album in it) you pick, so clients can proof and order before you've packed up.
- 3
Shoot as normal
Every frame your Nikon Z6 III captures is detected and downloaded at full resolution while you keep shooting. ShootProof receives the JPEGs — RAW files are skipped for it, so shoot RAW+JPEG.
- 4
Photos deliver to ShootProof
Each photo uploads from your phone once and lands in ShootProof live, seconds after the shutter — and fans out to any other destinations on the session too.
ShootProof in the CloudTether app
Connect ShootProof once, then every shoot from your Nikon Z6 III can deliver to it.
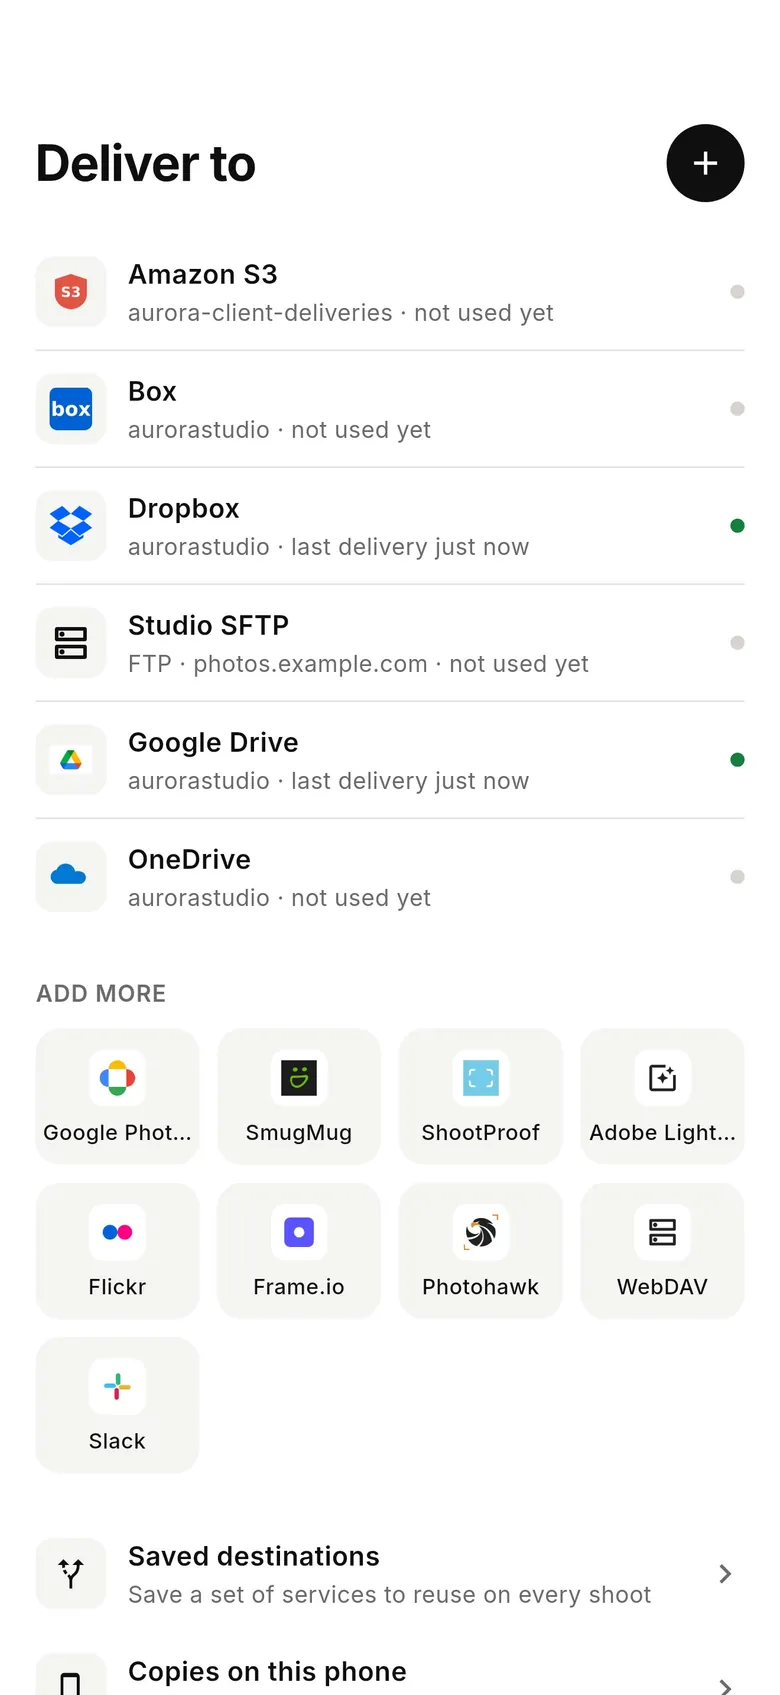
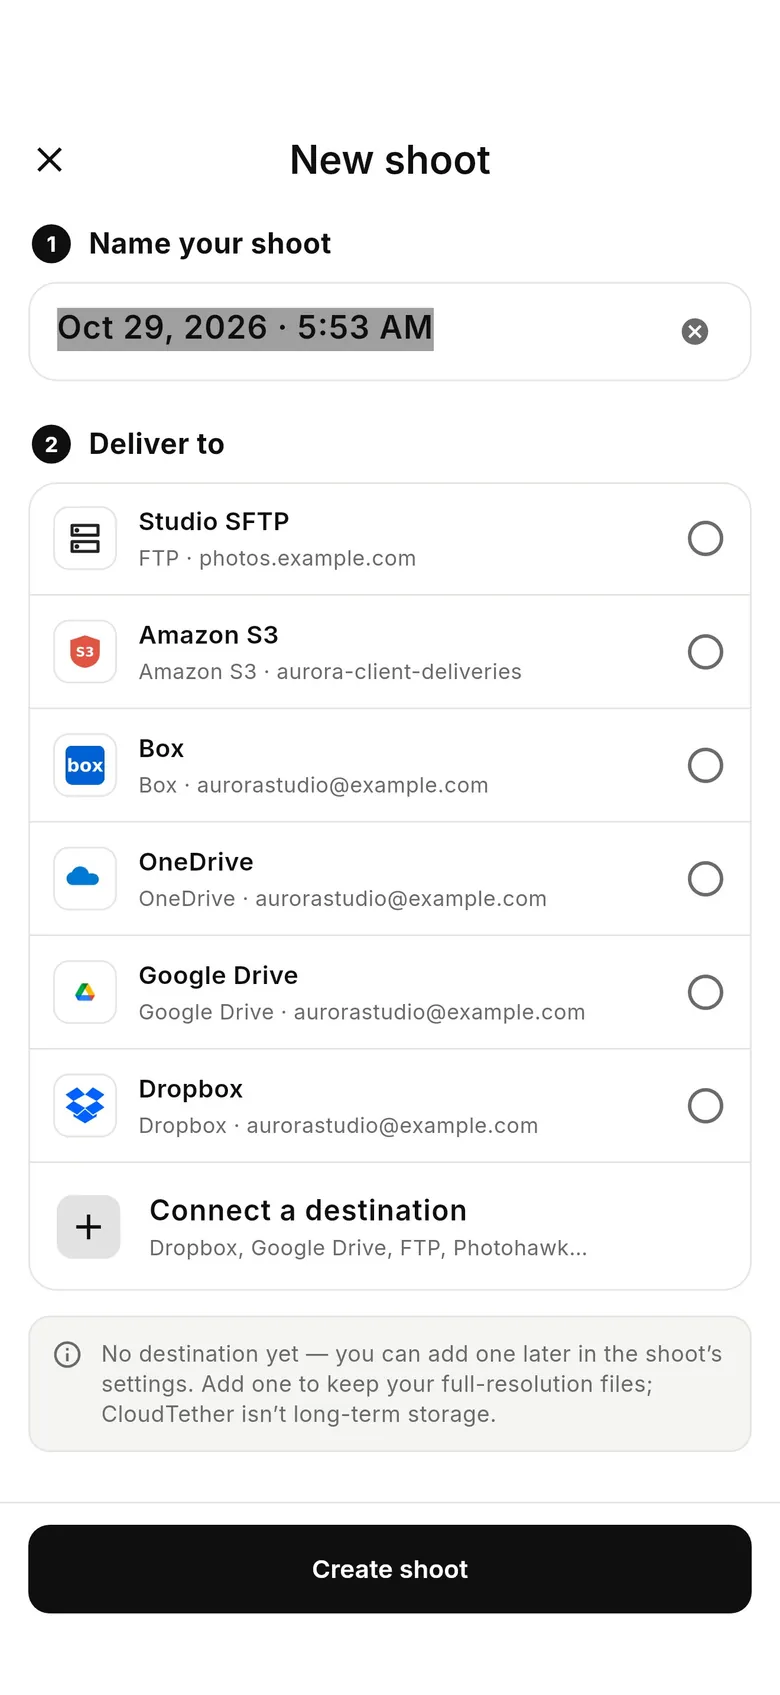
Connecting the Nikon Z6 III
The Z6 III connects over USB-C with no USB mode to change — current Nikon bodies tether in their default USB mode. Lengthen the standby timer so the camera stays awake while tethered. It shares its USB code with the Nikon Z6, our verified Nikon test body.
If you shoot to a CFexpress card and an iPhone won't see the camera, format the card in the camera: we've seen a Nikon on CFexpress refuse to connect over USB to an iPhone until the card was formatted in camera, while SD connected at once and Android wasn't affected.
For Wi-Fi: Network menu → Connect to smart device → Wi-Fi connection (STA mode) → Create profile, join the same network as the phone (or its hotspot) and approve the prompt on the camera — not yet tested by us. Rated send works over Nikon tethering: rate in playback and only rated frames are sent. High Efficiency RAW keeps NEF files smaller for faster delivery.
Wedding and event shooters often pick the Z6 III for speed at a lower price than the Z8 — the same jobs where clients want previews during the day. Review in playback during a lull, rate the keepers, and only those leave the camera while the full set stays on the card.
Getting the most out of ShootProof
ShootProof receives JPEGs; RAW files and video are marked Skipped rather than failed, so shoot RAW+JPEG. Create the event in ShootProof before you start: CloudTether lists your events newest first and lets you pick the event itself or one album inside it. Each shoot has one ShootProof target, so for a wedding you might point the getting-ready shoot at one album and start a second shoot for the ceremony.
Proofing galleries don't need full-size files. Web (2048 px) or Large (4096 px) in the shoot's Delivery resolution loads quickly on a client's phone and stays inside ShootProof's per-file size limit; keep Original if clients will order big prints. The event's own settings — access, favourites, price sheet — apply to every photo CloudTether adds.
A typical day: create the event the night before, add albums for the parts of the day, and share the event link once the first frames are in. Because CloudTether adds photos the way a manual upload would, favourites, downloads and the price sheet work as normal — you don't change how you run ShootProof, only when the photos arrive.
- Add Dropbox, Google Drive or an SFTP server to the same shoot to get the RAW off-site too.
- A delivery watermark can be set in the shoot's settings on the web dashboard.
- Two photographers can point their own phones at the same event.
A typical Nikon Z6 III to ShootProof workflow
- Create the ShootProof event and album, then pick them for the shoot.
- Tether the Z6 III over USB-C, shoot RAW+JPEG with JPEG only on, and set Delivery resolution to Large (4096 px).
- Rate keepers in playback with rated send on — the client's event shows your picks while you keep shooting.
Nikon Z6 III to ShootProof: what to know
The Nikon Z6 III is a full-frame body — wedding and event shooters who want speed at a lower price. CloudTether pulls each frame off it the moment you shoot and delivers it to ShootProof: the JPEGs (ShootProof doesn't take NEF RAW files, so shoot RAW+JPEG).
NEF files are far larger than JPEGs, so if your ShootProof recipients only need to view or pick images, deliver JPEG for the fastest turnaround and keep the NEF originals on the card or in a second destination.
ShootProof gets JPEGs (RAW and video are skipped), into the event or album you pick — shoot RAW+JPEG.
Full guide: Upload to ShootProof From Your Camera — Live, as You Shoot →Frames stream straight into the ShootProof event (or an album in it) you pick, so clients can proof and order before you've packed up.
Connects via ShootProof OAuth.
Nikon Z6 III to ShootProof — FAQ
Can I upload Nikon Z6 III photos to ShootProof automatically?
Yes. Tether your Nikon Z6 III to your phone with CloudTether over USB or Wi-Fi, and every shot uploads to ShootProof live as you shoot — no card offload and no card import.
Can I send Nikon Z6 III photos to ShootProof live while I'm shooting?
Yes — each frame lands in ShootProof seconds after the shutter, live, while you keep shooting. There's no SD-card step in the middle.
How does CloudTether connect my Nikon Z6 III to ShootProof?
Your Nikon Z6 III tethers to your phone over USB or its own Wi-Fi; connects via ShootProof OAuth.
Do I need a laptop to send Nikon photos to ShootProof?
No. CloudTether runs on your phone — your Nikon Z6 III connects to the phone and uploads straight to ShootProof over mobile data or Wi-Fi, anywhere you have signal.
Can I send RAW files from my Nikon Z6 III to ShootProof?
No — ShootProof receives JPEGs, and RAW files are skipped for it. Shoot RAW+JPEG; add Dropbox, Google Drive, OneDrive or an SFTP server to the same shoot if you want the RAW files off-site too.
Can a Nikon Z6 III fill a ShootProof gallery during a portrait session?
Yes. Each JPEG lands in the event or album seconds after the shutter, and with rated send only the frames you star are sent — the client can favourite while still with you.
Why aren't the Z6 III's NEF files in ShootProof?
ShootProof takes JPEGs; NEF files are marked Skipped. Shoot RAW+JPEG, and add Dropbox or Google Drive if you want the RAW off-site.
Can I use the Z6 III's Wi-Fi to send to ShootProof?
The camera can join the same network as your phone, but we haven't tested Nikon Wi-Fi with CloudTether yet. Use USB for client sessions; it needs no pairing and is faster.